2.1.1. Installing Agent on Windows
There are 2 ways to install the Agent on Windows
① Log in to the remote device and install it directly.
② Create a standalone installer (.exe) and run it on the remote device.
2.1.1.1. Direct installation
① Press [Remote PC management > Add PC] to start the installation.
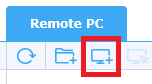
Adding a PC
① Toolbar > press Add PC
② Right click on the icon > select Add PC
③ Left click on the icon > More Actions > select Add PC
[Note]
For users with Windows Vista OS or later, make sure to select [Yes(y)] on UAC (User Account Control) prompt.
② In the [Installation path], set the “PC name”.
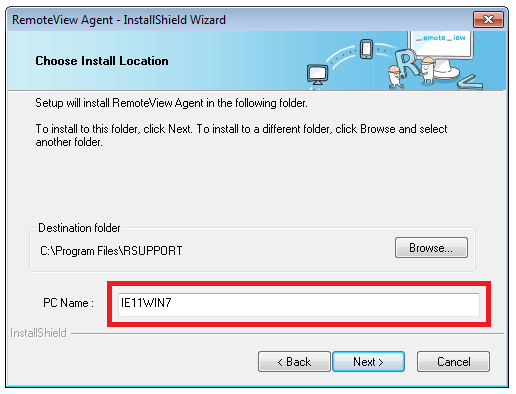
[Note]
By default, PC name will be using the system name.
③ Select the Proxy server option and press [Next(N)] to continue.
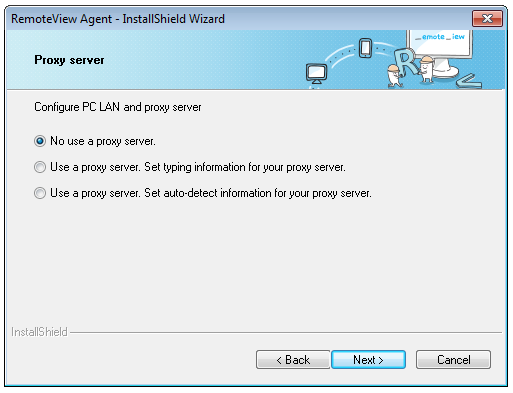
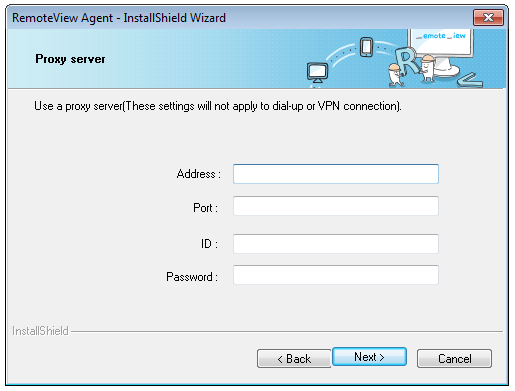
[Note]
For networks where proxy server used, configure it manually or use the auto option.
Contact your network administrator for proxy server information.
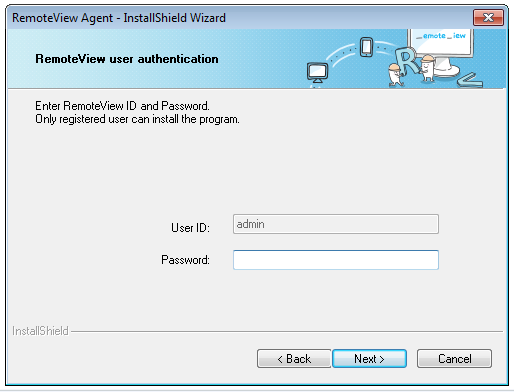
④ Enter the web console login ID and Password.
⑤ Enter the Access ID and Password to connect with this specific device. Press [Next(N)] to continue.
| Item | Description |
|---|---|
| Company ID | ID representing the company to be used during the login for all users |
| User ID | ID representing the specific user |
| User Password | Password for the specific user |
| Access ID | ID representing the specific device |
| Access Password | Password representing the specific device |
[Note]
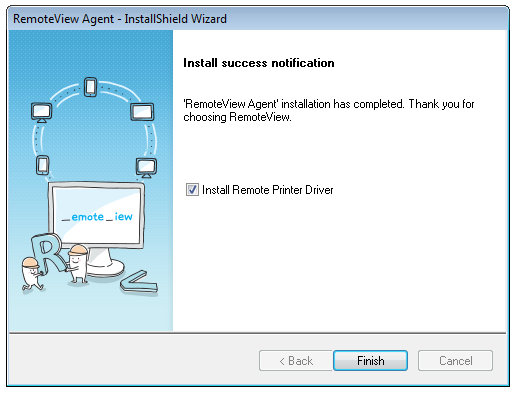
"Install remote printer" is checked by default. Uncheck it if it is not used.
For more information regarding this, refer to "4.12. Remote printer".
⑥ After a successful installation, Agent (remote PC) will be registered into the account and RemoteView Agent icon will be shown in the system tray.
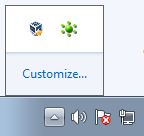
[Note]
If the Agent is logged out, then right click on the icon and select Log in.
⑦ Device is now added to Remote PC.
2.1.1.2. Standalone installer (.exe)
In order manage (remotely access) multiple devices, a standalone installer (.exe) can be generated as online or offline and used to install the Agent repeatedly instead of logging in to the web console. This installer can be downloaded and shared via email or other ways to be installed remotely.
* Online install
① From [Remote PC] tab, press Generate installer icon.

② Depending on the installation type, check on online.
③ In the [Generate installer] window, enter the Access ID/PW, installer's expiration date and proxy server information if needed.
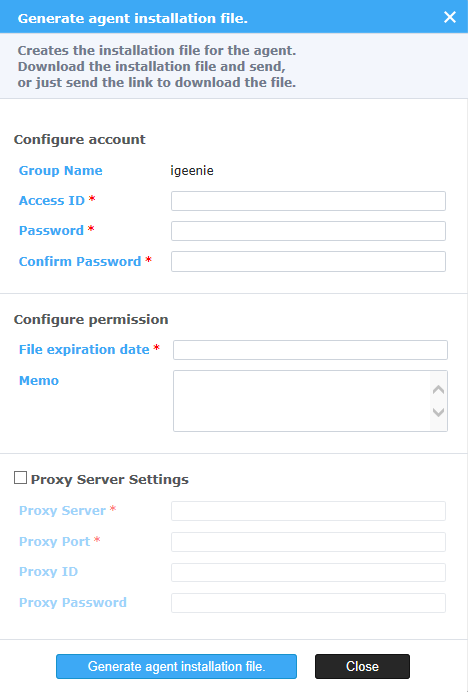
[Note]
User account information must be pre-filled when generating the standalone installer.
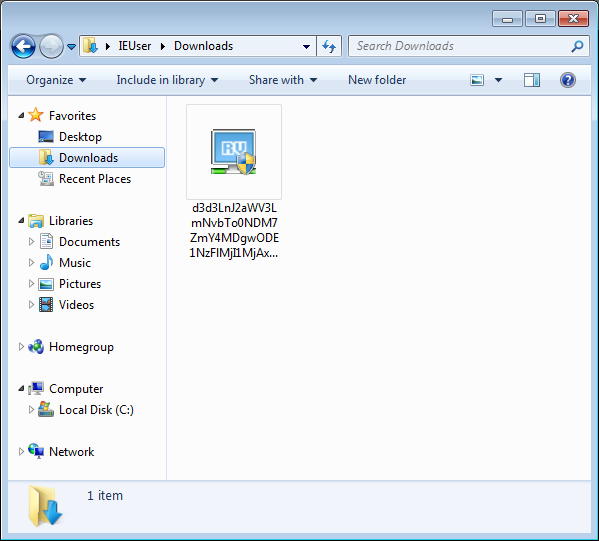
④ Press “Download"” to save the installer and share & install on the remote PC.
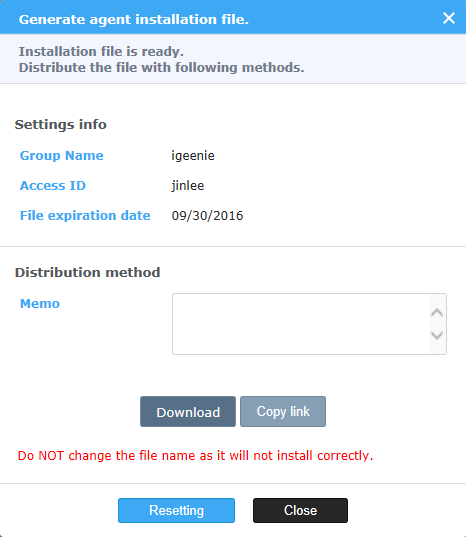
⑤ Also, the link (URL) to the installer can be copied and shared instead of downloading the actual file.
⑥ For further instruction on using the installer, refer to “2.1.1.1. Installing the Agent”.
* Offline install
① From [Remote PC] tab, press Generate installer icon.
② Depending on the installation type, check on offline.
③ In the [Generate installer] window, enter the Installer's expiration date and proxy server information if needed.
[Note]
In offline install, Access account is set as NULL and it is configured upon activation.
④ Press “Download"” to save the installer and share & install on the remote PC.
⑤ Also, the link (URL) to the installer can be copied and shared instead of downloading the actual file.
⑥ Select "Activate" to enter the "Access ID/PW".
[Note]
- This is available for Windows only.